How To Do More With Vue Router

Email Newsletter
Weekly tips on front-end & UX.
Trusted by 200,000+ folks.


 Flexible CMS. Headless & API 1st
 Register!
/home, /profile) in your application but has some features that some people do not know about. In this tutorial, we’re going to learn about some amazing features the Vue Router has and how we can make use of them in our app.Vue Router is the official router for Vue. It deeply integrates with Vue core to make building Single Page Applications with Vue a breeze. Some of its popular features include:
- Dynamic Route matching.
- Named Routes.
- Named views.
- Programmatic navigation.
These features are heavily used when developing with Vue and this is because they are part of the basics you need to understand to efficiently use the Router. But the Vue Router has some very useful features that can be very helpful in development and in this article, we’re going to take a look at them.
For the purpose of this tutorial, we’re going to be building a simple application that would help in understanding some of the concepts covered in this article. You can find all the code used in this article on GitHub. If you are interested in doing more with the router, you’ll benefit from this tutorial.
Note: This article requires a basic understanding of Vuejs and Vue Router.
Scroll Behaviour
This is the behavior that is observed when navigating from one page to another. The default behavior of Vue router is only noticeable after scrolling to a position that isn’t the top of the page. This is because, by default, the scroll position when navigating away from a page is maintained on a new page. What this means is, if you click on a link that leads to a new route ( i.e from /home to /about) in a position that is let’s say close to the footer of the current page, the new page would start from that same position instead of starting from the top of the page.
I have created a Vue application using the Vue CLI command vue create vue-router-demo, I also selected Vue Router as part of the options while setting up my app because we will be using it throughout this tutorial.
We will also need to make API calls to JSONPlaceholder, to illustrate some of the concepts using Vue router. For this, we will be using Axios. To install Axios:
# using YARN
yarn add axios
# or NPM
npm install axios
After installing Axios, we can update our Home.vue to look like this:
<template>
    <div class="home">
        <p v-if="loading" class="post--empty">Loading....</p>
        <ul v-else>
            <li v-for="post in posts" :key="post.id">
                <router-link
                    :to="{ name: 'Post', params: { id: post.id, post: post } }"
                >
                    {{ post.title }}
                </router-link>
            </li>
        </ul>
    </div>
</template>
<script>
    // @ is an alias to /src
    import axios from "axios";
    export default {
        name: "Home",
        data() {
            return {
                posts: null,
                loading: false,
            };
        },
        mounted() {
            this.getPosts();
        },
        methods: {
            async getPosts() {
                this.loading = true;
                try {
                    let res = await axios({
                        url: "https://jsonplaceholder.typicode.com/posts",
                        method: "GET",
                    });
                    let posts = res.data;
                    this.posts = posts;
                    this.loading = false;
                } catch (error) {
                    this.loading = false;
                }
            },
        },
    };
</script>
<style>
    .home {
        padding: 0 30px;
        max-width: 800px;
        margin: 0 auto;
    }
    @keyframes blink {
        from {
            opacity: 1;
        }
        to {
            opacity: 0;
        }
    }
    .post--empty {
        height: 250px;
        margin-top: 30px;
        animation: blink 0.8s ease-in-out infinite alternate both;
        display: flex;
        align-items: center;
        justify-content: center;
        font-family: "Lobster", cursive;
    }
    ul {
        text-align: left;
    }
    a {
        color: inherit;
    }
</style>
Here, we’re importing axios and using it to fetch a list of posts from JSONPlaceholder in the getPost method. We’re also assigning the array of posts gotten from this API call to posts from the data function from this page, this is because we want to use this data in our template section. After this, we loop through the array of posts in a list ( <ul></ul>) and also attach a link to each post using id of each post as the link param (this is called dynamic route matching). We have also added a paragraph that would serve as a loading indicator.
At this point, here’s what this page looks like:
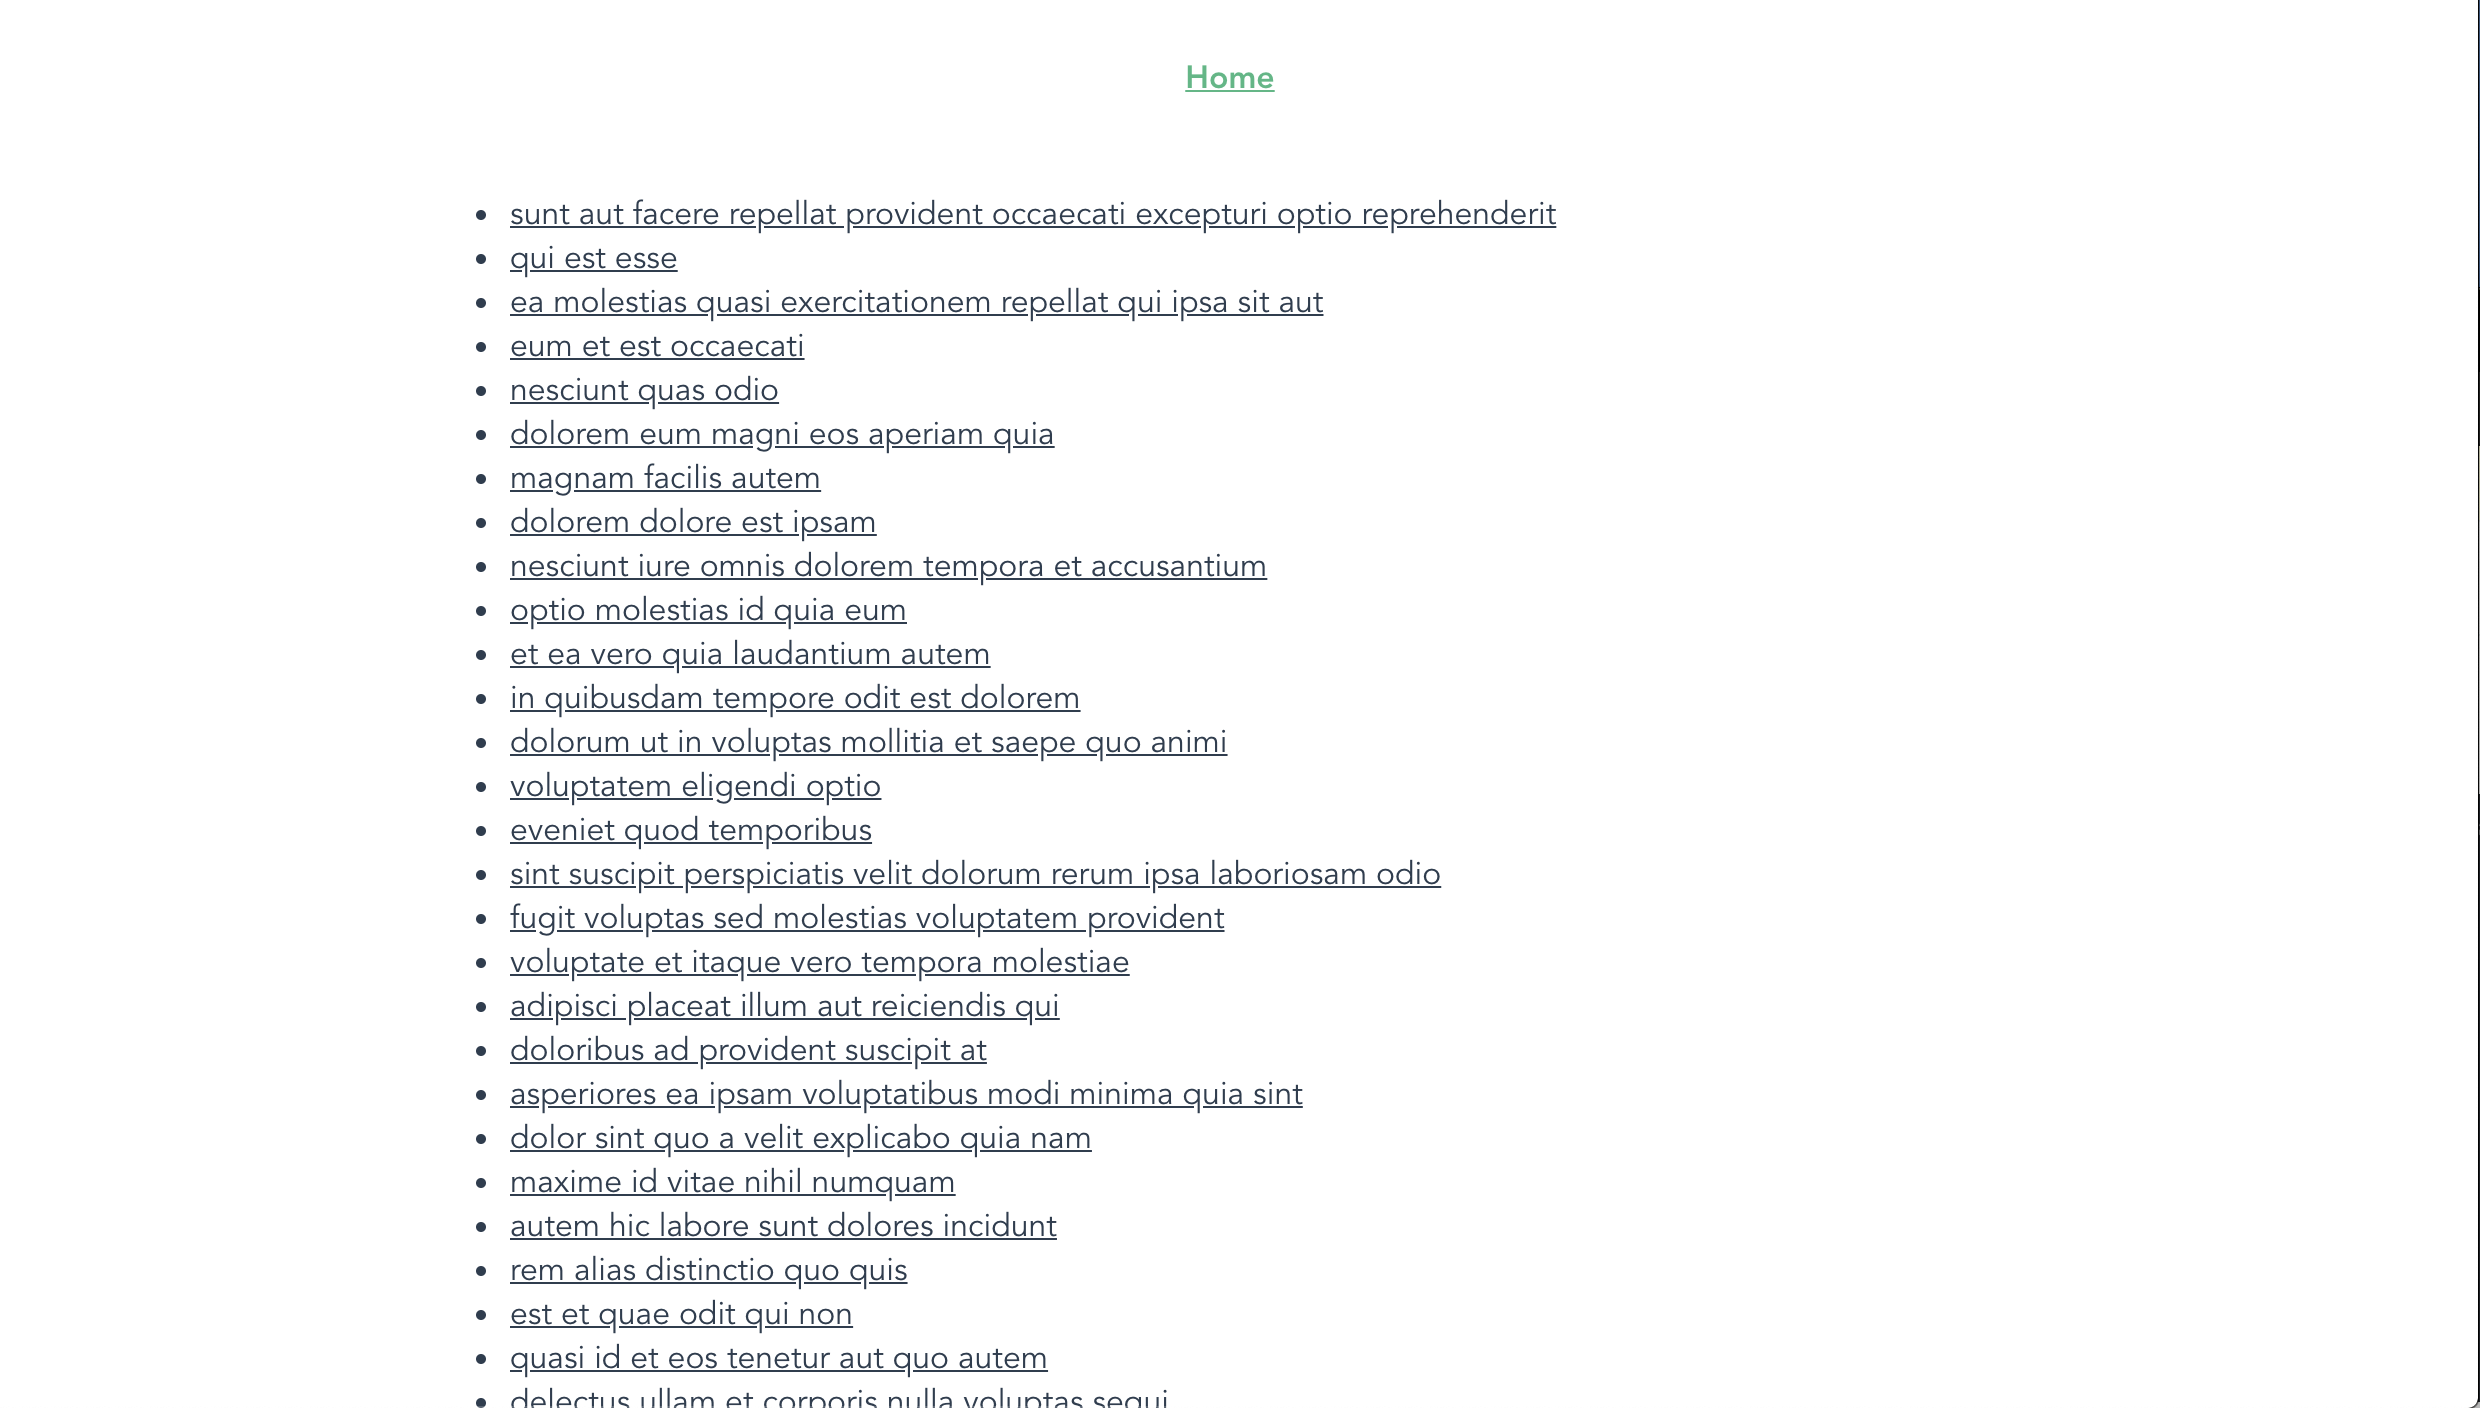
The next thing would be to create the page that will display the info for each post and create a link for it in the router of our app.
Post.vue
<template>
    <div class="about">
        <div class="post">
            <h1>{{ post.title }}</h1>
            <p v-html="post.body"></p>
        </div>
        <p>End of page</p>
    </div>
</template>
<script>
    export default {
        name: "Post",
        props: ["id", "post"],
    };
</script>
<style>
    .post {
        padding: 0 30px;
        height: 110vh;
        margin: 0 auto;
    }
    p {
        margin: 10px 0;
    }
</style>
Here, we make use of passing props to route components to define id and post which we’re passing from the previous page in the form of route params. This is a neat way of accessing route params and query as opposed to doing this:
Post.vue
<script>
    export default {
        name: "Post",
        data() {
            return {
                post: this.$route.post,
            };
        },
    };
</script>
We then make use of this post value in the template section to display post title and body. Finally, we add a paragraph to the end of the page. We also add styling for the page in the styling section, which includes defining a height of 110vh. This is because we need the page to have a height that is more than the default height 100vh so we can observe the default scroll behavior of the router.
The next thing would be to create a route that would display each post. Update your index.js file in the /router folder ( or router.js file) to look like this:
import Vue from 'vue'
import VueRouter from 'vue-router'
import Home from '../views/Home.vue'
Vue.use(VueRouter)
const routes = [{
        path: '/',
        name: 'Home',
        component: Home
    },
    {
        path: '/:id',
        name: 'Post',
        props: true,
        component: () =>
            import ( /* webpackChunkName: "post" */ '../views/Post.vue')
    }
]
const router = new VueRouter({
    mode: 'history',
    base: process.env.BASE_URL,
    routes
})
export default router
Here, we define a new route that makes use of id that would be passed to this route from the homepage. We’re also decoupling the router param (in this case, post and id) using props.
The top of this page looks like this:

If we click on any of the posts on the home page that does not require us to scroll, we would not notice any weird behavior scroll wise, but if we scroll down a little and click on the last post in this list, this should be the position the /post page would land on:

This is bad for UX and this is because the user isn’t expecting this behavior and they might need to start from the top of a page to get the full information on the said page.
Vue Router comes with the option to customize this behavior to individual preferences, an example would be saving scroll position of a previous route when trying to move back/forward. To fix the current issue in our app, we would update our router file to include the following:
import Vue from 'vue'
import VueRouter from 'vue-router'
import Home from '../views/Home.vue'
Vue.use(VueRouter)
const routes = [...]
const router = new VueRouter({
    mode: 'history',
    base: process.env.BASE_URL,
    routes,
    //add this
    scrollBehavior(to, from, savedPosition) {
        return { x: 0, y: 0 }
    }
})
export default router
Now, if we scroll to the bottom of the home page and click on the last post, you should notice that it now starts from the top of the page.

Data Fetching
When fetching data from an API, we either call the method in the mounted or created lifecycle hook, these are by far the most popular methods people use when developing in Vue. Vue router comes with another method in which we make this API request before navigating to a new route by making this request using the beforeRouterEnter guard in such a component. Here is an example of how to fetch data from JSONPlaceholder using this method:
beforeRouteEnter(to, from, next) {
    axios
        .get("https://jsonplaceholder.typicode.com/posts")
        .then((res) => {
            next((vm) => vm.fetchData(res));
        })
        .catch((err) => {
            console.error(err);
        });
},
methods: {
    fetchData(res) {
        let post = res.data;
        this.posts = post;
    },

},
Here, we’re fetching a list of posts from an API using Axios and when this request is complete, we call next. At this point in the lifecycle of this component, this is not available because the component has not been created but we have access to vm which gives us access to the component’s instance. Inside this function, we pass the response from the API request res to our method fetchData which we’ve created to assign the value from this response to post so we can use it in our template. Now, if we refresh our / route, we would notice that the data gets updated very fast and at no time is there a blank or page ( provided the request is successful).
Transitions
Vue comes with a <transition></ transition> component that enables easy implementation of CSS transitions and animations. This feature can be extended to work for navigation between routes in Vue. Here’s an example:
<template>
    <div id="app">
        <div id="nav">
            <router-link to="/">Home</router-link>
        </div>
        <transition name="slide-fade">
          <router-view />
        </transition>
    </div>
</template>
<style>
    #app {
        font-family: Avenir, Helvetica, Arial, sans-serif;
        -webkit-font-smoothing: antialiased;
        -moz-osx-font-smoothing: grayscale;
        text-align: center;
        color: #2c3e50;
    }
    #nav {
        padding: 30px;
    }
    #nav a {
        font-weight: bold;
        color: #2c3e50;
    }
    #nav a.router-link-exact-active {
        color: #42b983;
    }
    .slide-fade-enter-active {
        transition: transform 0.3s cubic-bezier(1, 0.5, 0.8, 1),
            color 0.5s cubic-bezier(1, 0.5, 0.8, 1);
    }
    .slide-fade-leave-active {
        transition: transform 1s cubic-bezier(1, 0.5, 0.8, 1),
            color 1s cubic-bezier(1, 0.5, 0.8, 1);
    }
    .slide-fade-enter {
        color: mediumblue;
        transform: translateY(20px);
    }
    .slide-fade-leave-to {
        transform: translateX(100px);
        color: cyan;
    }
</style>
Here, we’re adding a transition with the name slide-fade to our application and wrapping it around all the route navigation that would take place in the app. We’re also adding a set of styles that control/define the way the transitions would work in our app. Without these rules, there would be no visible transition taking place. Now, if we try to navigate from the homepage to the individual posts, we would notice a sliding and fading transition taking place during the navigation process.
There are two types of route based transitions.
1. Per-route Transition
This type of transition is defined in the component that renders a route and so, it only affects the navigation to and from such a page. This gives us the ability to define a special transition for individual routes if we want. Here is an example of how to do that.
<template>
 // add a transition component with name and mode props
    <transition name="slide-fade" mode="in-out">
        <div class="about">
            <div class="post">
                <h1>{{ post.title }}</h1>
                <p v-html="post.body"></p>
            </div>
            <p>End of page</p>
        </div>
    </transition>
</template>
<script>
    export default {
        name: "Post",
        props: ["id", "post"],
    };
</script>
<style>
    //...

    .slide-fade-enter-active {
        transition: transform 2s cubic-bezier(1, 0.5, 0.8, 1), opacity 2s ease-in;
    }
    .slide-fade-leave-active {
        transition: transform 2s cubic-bezier(1, 0.5, 0.8, 1), opacity 2s ease-out;
    }
    .slide-fade-enter {
        opacity: 1;
        transform: skewY(20deg);
    }
    .slide-fade-leave-to {
        transform: skewY(-45deg);
        opacity: 0.5;
    }
</style>
If you try to navigate away from this page, we would notice the page gets skewed and fades for a duration of 2s as the navigation changes.
2. Route-Based Dynamic Transition
This is similar to the general method of adding transitions to all routes in your application but it has one major difference, that is, it accepts a dynamic transition name prop which gives you the ability to change the transition type any way you want. Let us create an example of how to do this.
We’re going to update our App.vue file with a dynamic name prop and configure it to choose a transition name depending on a value.
 <template>
    <div id="app">
        <div id="nav">
            <router-link to="/">Home</router-link>
        </div>
        <transition :name="transitionName">
            <router-view />
        </transition>
    </div>
</template>
<script>
    export default {
        data() {
            return {
                transitionName: "slide-fade",
            };
        },
        watch: {
            $route(to, from, params) {
                const toParam = to.params && to.params.id ? to.params.id : 0;
                this.transitionName = toParam % 2 === 0 ? "slide-left" : "slide-fade";
            },
        },
    };
</script>
<style>
    /* add transition styles */
    .slide-fade-enter-active {
        transition: transform 0.3s cubic-bezier(1, 0.5, 0.8, 1),
            color 0.5s cubic-bezier(1, 0.5, 0.8, 1);
    }
    .slide-fade-leave-active {
        transition: transform 1s cubic-bezier(1, 0.5, 0.8, 1),
            color 1s cubic-bezier(1, 0.5, 0.8, 1);
    }
    .slide-fade-enter {
        color: mediumblue;
        transform: translateY(20px);
    }
    .slide-fade-leave-to {
        transform: translateX(100px);
        color: cyan;
    }
    .slide-left-enter-active {
        transition: transform 0.3s cubic-bezier(1, 0.5, 0.8, 1),
            color 0.5s cubic-bezier(1, 0.5, 0.8, 1);
    }
    .slide-left-leave-active {
        transition: transform 1s cubic-bezier(1, 0.5, 0.8, 1),
            color 1s cubic-bezier(1, 0.5, 0.8, 1);
    }
    .slide-left-enter {
        color: mediumblue;
        transform: translateY(20px);
    }
    .slide-left-leave-to {
        transform: skewY(90deg);
        color: cyan;
    }
</style>
Here, we’re adding a dynamic transition name which is defined in the script section of our app. We’re also watching the $route so that whenever it changes, we run the function that checks if the current route has a param of id otherwise, we give it a value of 0. We also determine the transition name based on the type of number the id is (i.e even or odd number). Now, if we navigate between the landing page and the different posts available, we would observe there are two types of transitions occurring as we navigate.
Meta Fields And Navigation Guards
Meta Fields
Meta fields help provide extra context to a certain route. An example of such context would be if a user needs to be authenticated to access such route or not. Here’s what this looks like:
import Vue from 'vue'
import VueRouter from 'vue-router'
import Home from '../views/Home.vue'
Vue.use(VueRouter)
const routes = [{
        path: '/',
        name: 'Home',
        component: Home,
        // add meta to this route
        meta: {
            requiresAuth: true
        }
    },
]
const router = new VueRouter({
    mode: 'history',
    base: process.env.BASE_URL,
    routes
})
export default router
Here, we’ve added a meta property requiresAuth to the / route meaning we want users to be authenticated before they can access that route. Note that ‘requiresAuth’ is not a standard property, so you can choose any name you prefer. Whatever value you select at the end can be accessible in the $route object. This meta field at this point would not prevent unauthorized users from accessing that route, we need to hook it up to the Navigation guard.
Navigation Guard
Just as the name implies, the navigation guard helps protect and guard routes based on your preferences (i.e redirect to another page or preventing the navigation). This feature works together with the Route Meta Fields to effectively guard the routes of your application. There are 3 ways of adding router guard in our app:
1. In-component
Vue offers the option to configure your router guard for a particular route directly inside your components. Here’s an example in our Home.vue file:
<template>
<div class="home">
<p v-if="loading" class="post--empty">Loading....</p>
<ol v-else>
<!-- add this text to your template -->
<p v-if="guest">Hi Guest</p>
<li v-for="post in posts" :key="post.id">
<router-link
:to="{ name: 'Post', params: { id: post.id, post: post } }"
>
{{ post.title }}
</router-link>
</li>
</ol>
</div>
</template>
<script>
// @ is an alias to /src
import axios from "axios";
export default {
name: "Home",
data() {
return {
posts: null,
// add this property
guest: false,
loading: false,
};
},
// add this function
beforeRouteEnter(to, from, next) {
if (to.matched.some((record) => record.meta.requiresAuth)) {
// this route requires auth, check if logged in
// if not, display guest greeting.
const loggedIn = JSON.parse(localStorage.getItem("loggedIn"));
if (!loggedIn) {
next((vm) => {
vm.guest = true;
});
} else {
next();
}
} else {
next(); // make sure to always call next()!
}
},
methods: {...}
};
</script>
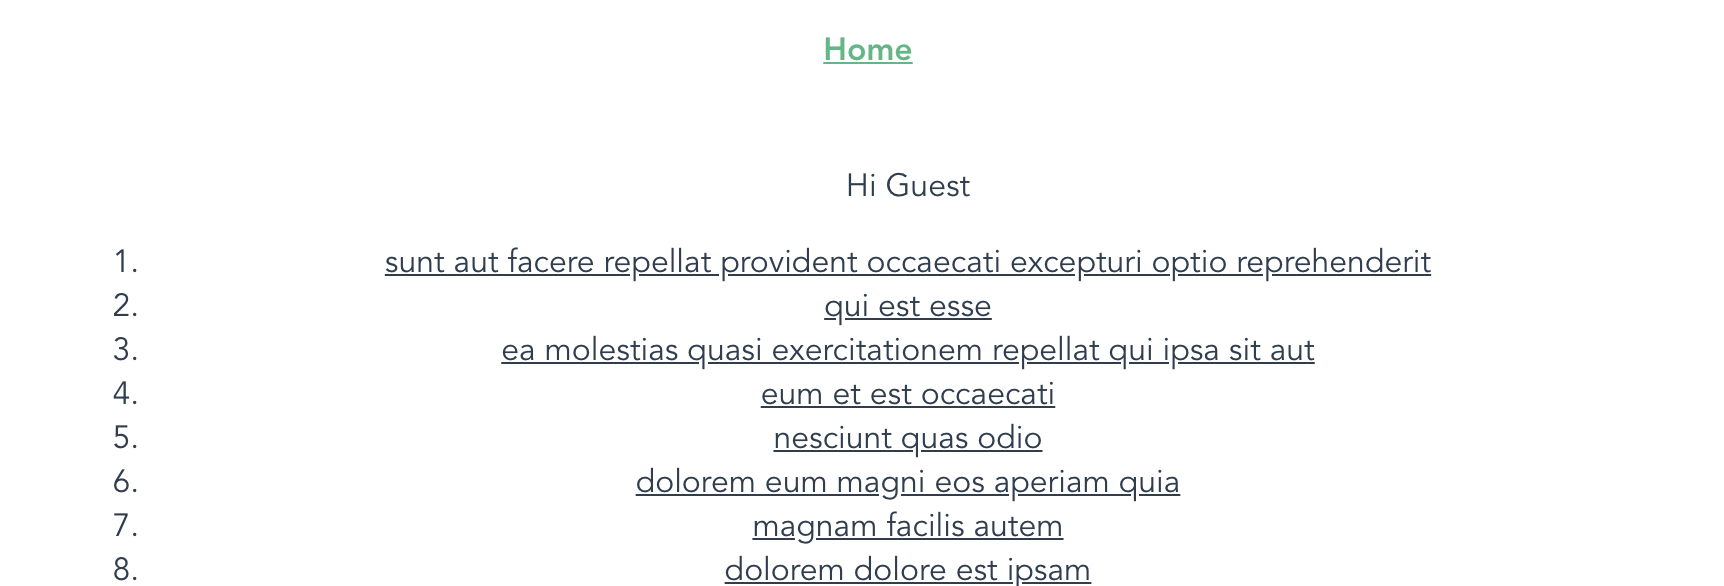
<style>...</style>Here, we’re adding a paragraph that is only visible to unauthenticated users. We also add a property that controls the visibility of this text. Finally we have a router method beforeRouteEnter in which we also connect the router guard and check if the user is authenticated or not using a value that would be manually added later. We also have an if/else statement, and inside this statement, we change the value of guest depending on the authentication of the user.
And in your App.vue, add this lifecycle to the file.
export default {
        mounted() {
            localStorage.setItem("loggedIn", false);
        }
    };
So if you refresh your app, we should see the text we added in the Home.vue file.
2. Per-route
We can also add a router guard to our apps per-route in our router file as another property inside the specific route object. Here’s an example:
{
        path: '/',
        name: 'Home',
        component: Home,
        // add meta to this route
        meta: {
            requiresAuth: true
        },
        beforeEnter: (to, from, next) => {
            if (to.name !== 'Home') {
                console.log('Per-Route navigation guard ti wa online');
                next()
            } else next()
        }
    }
Here, we add a router guard to the / route and we’re currently just logging a random text to the console but we can do a couple of things inside this guard. Now, each time you visit the home page, you would see this in your console:

3. Globally
We also have the option of creating a router guard that works globally for every part of the app (provided it meets the guard condition). This global guard is created in the router file just like the per-route guard but instead of defining it inside a specific route object, it is defined as a method of the router instance. For an example of how it works, we’re going to create a new file and route in our app and name it guest.vue, then add the following lines of code to the file.
<template>
    <div>
        <h1>Guest page</h1>
        <p>You're seeing this page because you are not logged in</p>
    </div>
</template>
<script>
</script>
<style></style>
Next, we create a /login route with this newly created page and add a meta property to other existing routes.
    // create new route
    {
        path: '/login',
        name: 'login',
        component: () =>
            import ( /* webpackChunkName: "auth" */ '../views/guest.vue')
    }, {
        path: '/:id',
        name: 'Post',
        props: true,a        // add meta property
        meta: {
            requiresAuth: true
        },
        component: () =>
            import ( /* webpackChunkName: "post" */ '../views/Post.vue')
    }
The next thing would be to create the global navigation guard for all routes that require authentication and check the user’s authentication using localStorage (previously created). We would redirect users that have a loggedIn value of false to /login.
router.beforeEach((to, from, next) => {
    if (to.matched.some((record) => record.meta.requiresAuth)) {
        // this route requires auth, check if logged in
        // if not, display guest greeting.
        const loggedIn = JSON.parse(localStorage.getItem("loggedIn"));
        if (!loggedIn) {
            next({
                path: '/login'
            });
        } else {
            next();
        }
    } else {
        next(); // make sure to always call next()!
    }
})
So if you check your app in your browser, you would notice it is currently on this page:

If we try to navigate to any of the existing routes, we would automatically get redirected to this page no what we do and that means our router guard is effectively guarding those routes.
Conclusion
We can see that the Vue Router is a very powerful tool that can be used for more than just creating routes in your application. We have learned how to configure the scroll behavior of routes in our application, the different ways to add transitions to routes in our app, how to fetch data from an API before a component gets mounted, how to use meta property for our routes and the different ways to set up router guard.


